Custom GitHub App
Before creating your container, you'll need to create a GitHub app for your organisation.
Creating a GitHub OAuth app
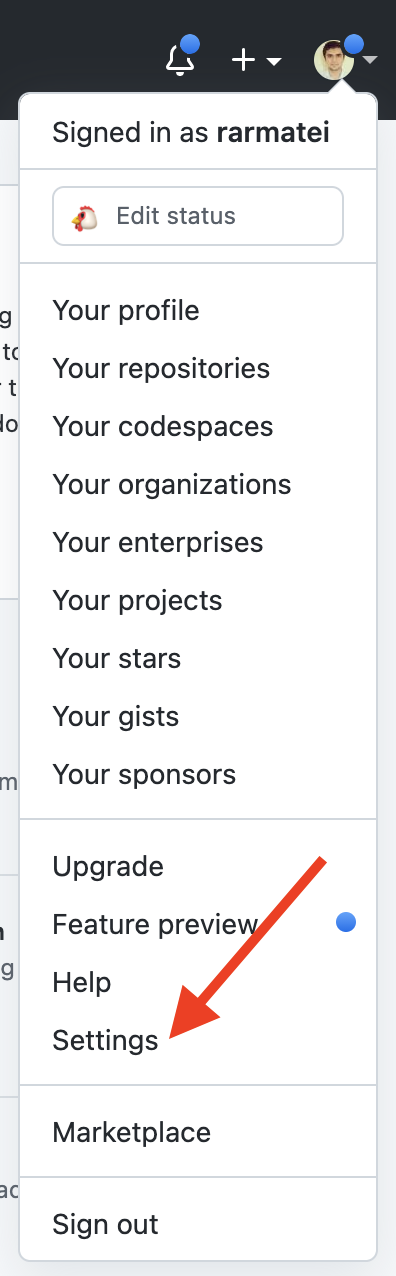
From GitHub, click on your profile picture and chose "Settings":
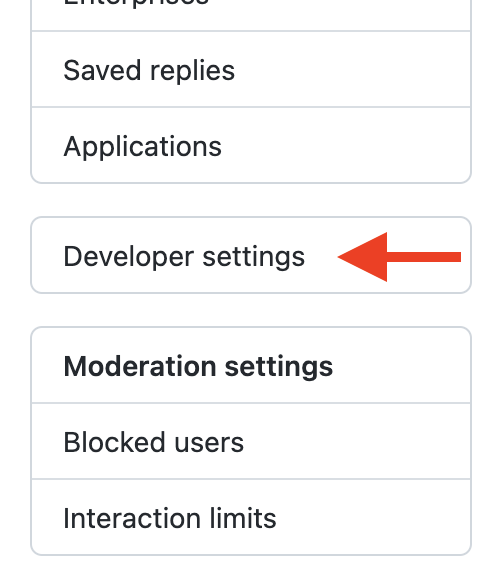
Then "Developer settings" from the left-hand menu:
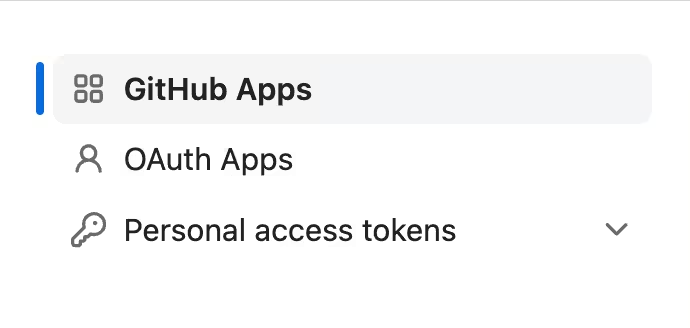
Then "GitHub Apps":
And create a new GitHub app:
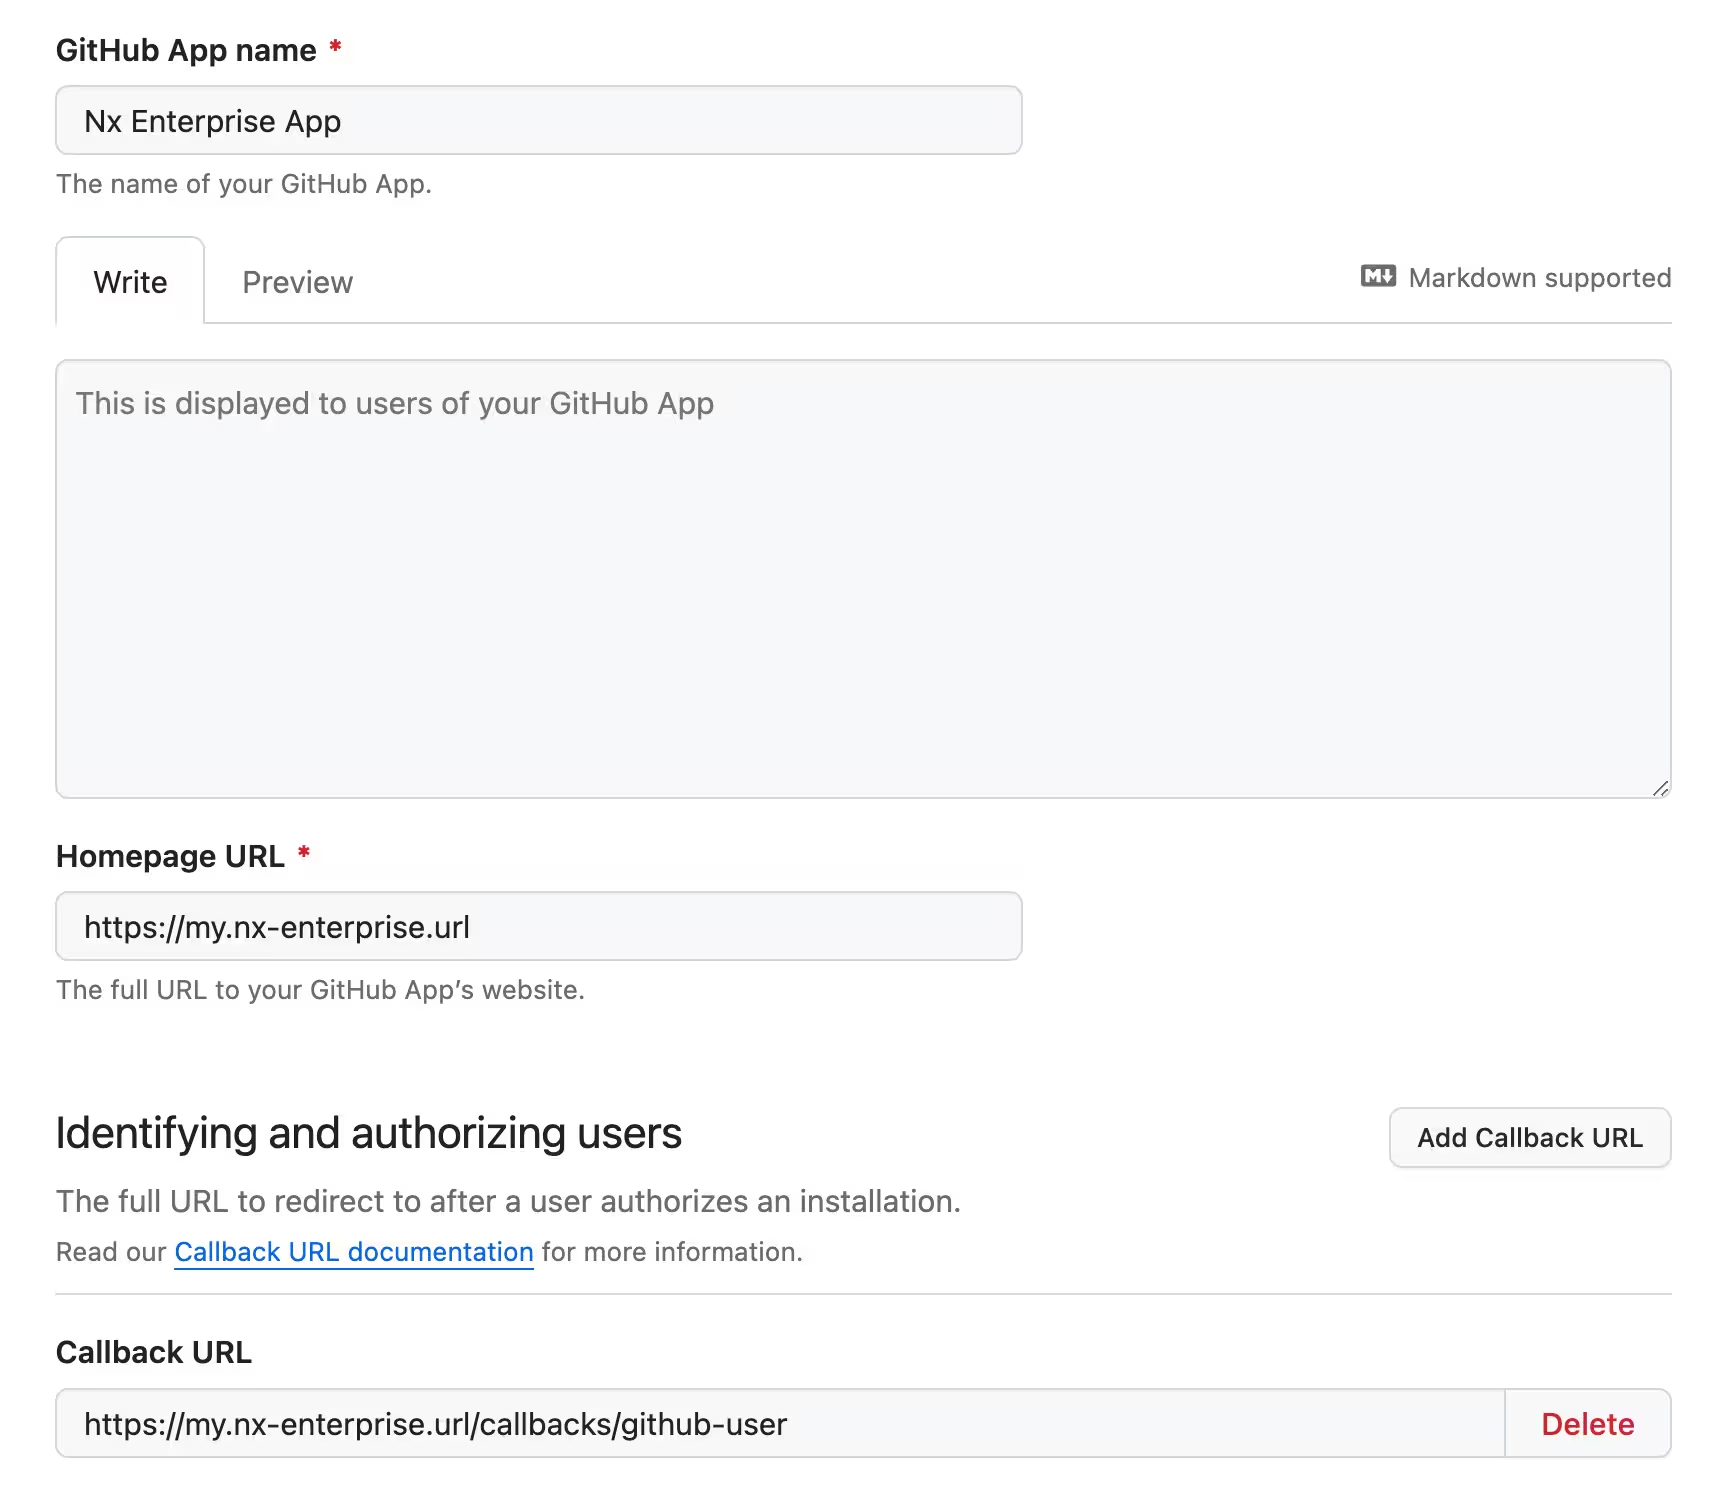
Give it a name, and a homepage URL. The callback URL is the important bit. It needs to be in this form:
1[your-nx-cloud-url]/callbacks/github-user
2
3# for example
4https://my.nx-enterprise.url:8080/callbacks/github-user
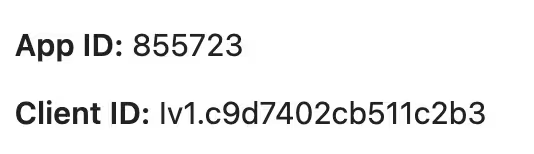
5Once you create the app, keep a note of the Client ID and App ID:
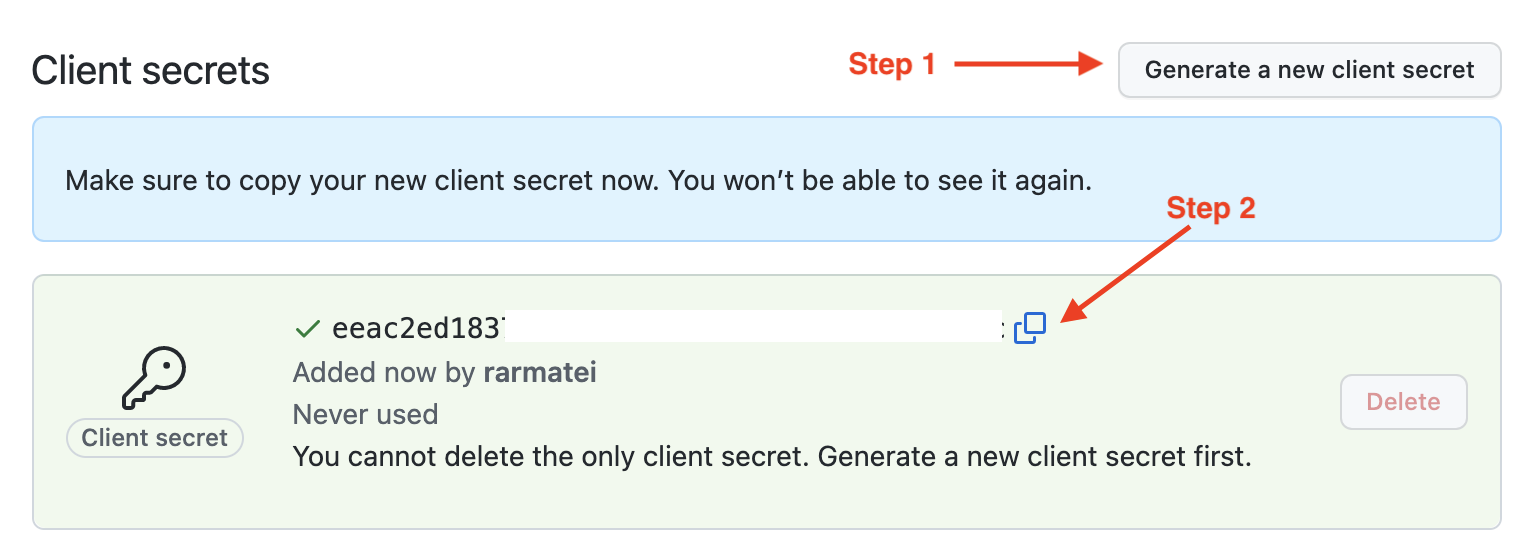
Then generate a new client secret, and save it somewhere secure (we'll use it in a bit):
Configure Permissions for the GitHub App
The following permissions are required for Nx Cloud to work:
Repository permissions:
Contents: Read & WritePull requests: Read & WriteChecks: Read OnlyCommit Statuses: Read & WriteIssues: Read & WriteMetadata: Read Only
Organization permissions:
Administration: Read OnlyMembers: Read Only
Configure Nx Cloud Installation
Using Helm:
1image:
2  tag: 'latest'
3
4nxCloudAppURL: 'https://nx-cloud.myorg.com'
5
6github:
7  auth:
8    enabled: true
9
10secret:
11  name: 'cloudsecret'
12  githubAppClientId: 'NX_CLOUD_GITHUB_APP_CLIENT_ID'
13  githubAppClientSecret: 'NX_CLOUD_GITHUB_APP_CLIENT_SECRET'
14  githubAppId: 'NX_CLOUD_GITHUB_APP_APP_ID'
15
Note that the secret must contain NX_CLOUD_GITHUB_APP_CLIENT_ID, NX_CLOUD_GITHUB_APP_APP_ID, and NX_CLOUD_GITHUB_APP_CLIENT_SECRET ( see Nx Cloud Helm Charts for more context).
Not using Helm:
Provide the following env variables to the nx-cloud-frontend container:
NX_CLOUD_GITHUB_APP_CLIENT_IDNX_CLOUD_GITHUB_APP_CLIENT_SECRETNX_CLOUD_GITHUB_APP_APP_ID
If you are using our Helm chart, you can find all the information you need about env variables in the Helm chart repository.